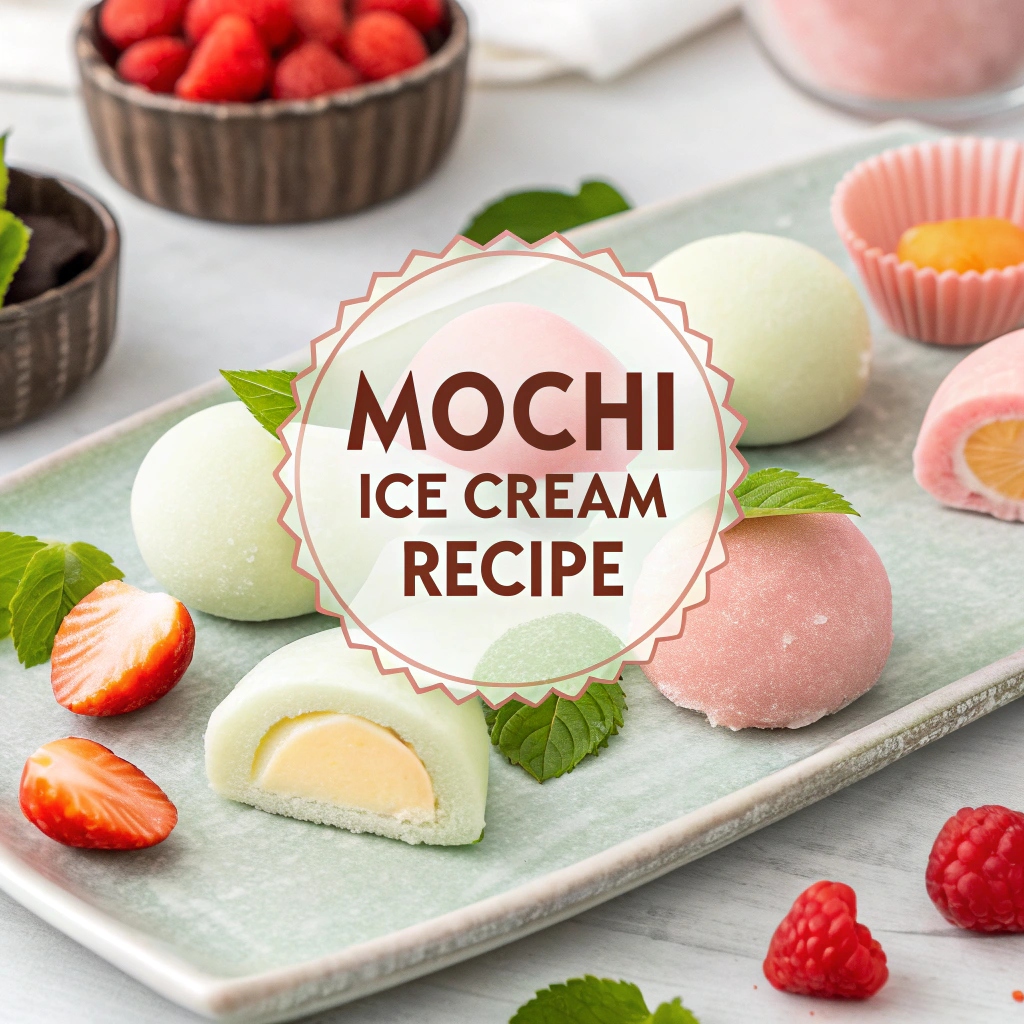
This delightful mochi ice cream brings together the best of Japanese and modern dessert worlds. The pillowy-soft rice dough wraps around creamy, chilled ice cream centers, creating the perfect balance of textures in every bite. Ready in just 30 minutes of hands-on time, these bite-sized treats offer a mere 70 calories each while delivering pure joy. Whether you’re hosting a dinner party or seeking a unique homemade dessert, these charming little spheres will captivate your guests and satisfy your sweet cravings.
Ingredients for Mochi Ice Cream
- Glutinous Rice Flour: 1 cup (preferably shiratamako or mochiko for authentic texture)
- Sugar: ¼ cup regular + 2 tablespoons powdered
- Water: 1 cup at room temperature
- Food Coloring: Optional for customized appearance
- Cornstarch/Potato Starch: For dusting (prevents sticking)
- Ice Cream: Your preferred flavor, well-frozen
Step-by-Step Instructions
- Prepare Ice Cream Base: Scoop ice cream into tight balls on parchment-lined pan, ensure flat bottom. Freeze 1 hour.
- Create Mochi Dough: Mix flours and sugars in microwave-safe bowl with water until smooth. Cover and microwave in intervals (1 min + 1 min + 30 sec), folding between each.
- Shape the Dough: Roll out on cornstarch-dusted surface to ¼” thickness. Refrigerate 30 minutes.
- Form Mochi: Cut 3-inch circles, place ice cream in center, gently pinch edges to seal.
- Wrap and Store: Individually wrap in plastic, twist to seal. Freeze minimum 1 hour before enjoying.
Storage Tips
These sweet treats stay fresh in your freezer for up to 3 months! Keep them wrapped in their individual plastic wrap pieces and pop them into a freezer-safe container. When you’re ready to eat one, let it sit at room temperature for about 5 minutes – this helps the mochi wrapper become soft and chewy while keeping the ice cream nice and cold inside.
Variations & Flavors
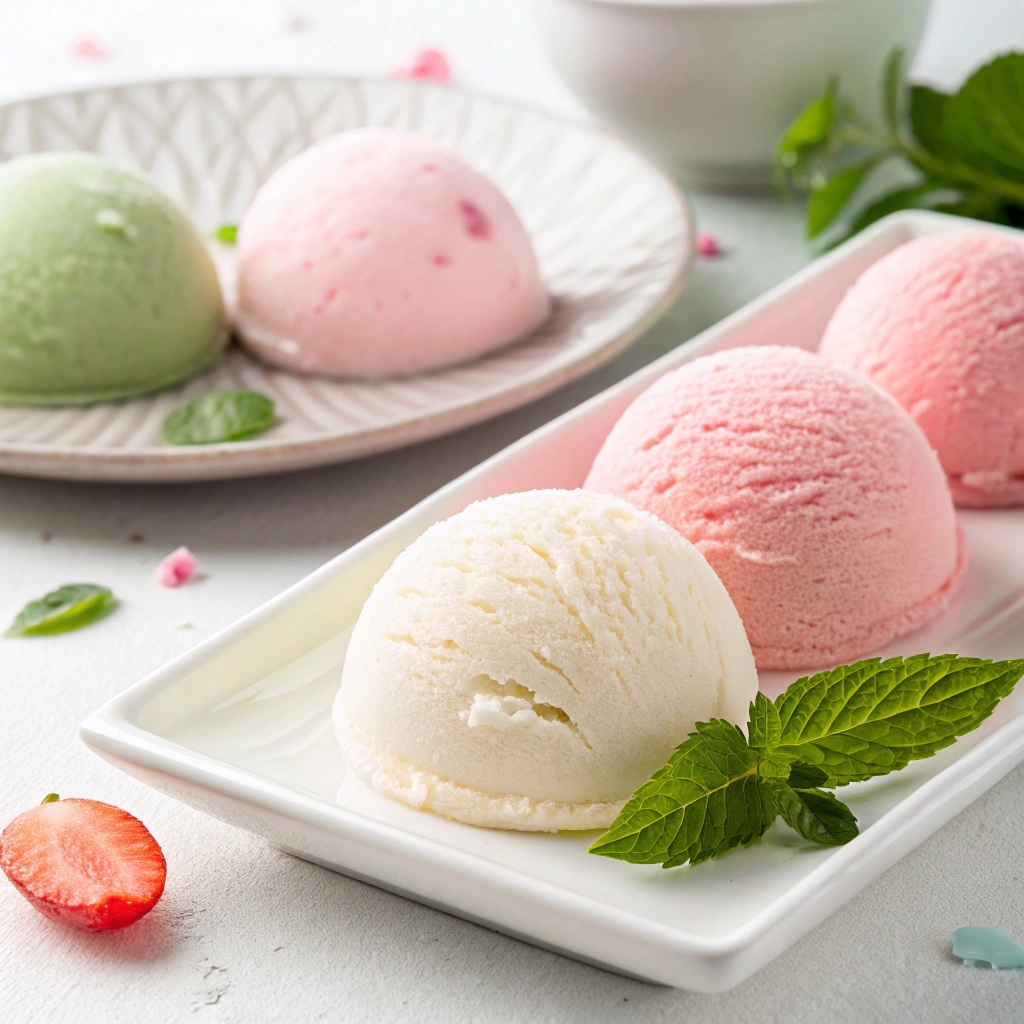
The magic of mochi ice cream is how creative you can get with flavors! Try matcha green tea ice cream for a traditional Japanese twist, or go bold with flavors like strawberry, mango, or chocolate. Want to make your mochi extra pretty? Add a few drops of food coloring to match your ice cream – pink for strawberry, green for matcha, or purple for ube ice cream. You can also use vanilla ice cream and add fun mix-ins like mini chocolate chips or crushed cookies before scooping!
Pro Tips
Making mochi might feel tricky at first, but here are some friendly tips: Keep your ice cream super frozen between steps – this stops it from melting while you work. If your mochi dough gets sticky, don’t worry! Just add more cornstarch when rolling. Work quickly when wrapping the ice cream, and if things get messy, just pop everything back in the freezer for a few minutes to firm up. Remember, practice makes perfect, and even slightly misshapen mochi tastes amazing!
Serving Ideas
Mochi ice cream is perfect on its own, but you can make it extra special! Place each piece on a small plate with a sprinkle of extra cornstarch or coconut flakes. For a fun dessert party, set out different flavors on a pretty platter with small scissors – traditional Japanese restaurants often serve mochi this way, letting guests cut their pieces in half to share. These make adorable desserts for birthday parties or any celebration!

Mochi Ice Cream
Equipment
- microwave safe bowl
- Sheet pan
- Parchment paper
- Rolling Pin
- cookie cutter
- Plastic wrap
Ingredients
- 1 cup glutinous rice flour Sweet rice flour, I recommend shiratamako or mochiko
- 1/4 cup sugar
- 2 Tablespoons powdered sugar
- 1 cup water
- food coloring optional, to change the color of the dough
- Cornstarch or potato starch (for dusting and rolling)
- Ice cream your favorite kind
Instructions
- Line a sheet pan with parchment paper. Working quickly, use a small ice cream scoop to scoop ice cream balls and place them onto the parchment paper. Be sure to pack the ice cream tightly as you scoop, leaving a flat edge on the ice cream so that it will sit flat on your cookie sheet. Freeze for 1 hour.
- Combine flour, sugar, and powdered sugar in a microwave safe bowl. Add water and stir well until smooth. Cover the bowl with plastic wrap and microwave mochi dough for 1 minute. Wet your spatula to prevent sticking and use your spatula to repeatedly fold the mixture. Cover and microwave again for 1 minute. Fold the dough again and microwave for 30 more seconds. The mochi should look slightly shiny and if it doesn’t, microwave for 30 more seconds.
- Place a piece of parchment paper on the counter and dust with a layer of cornstarch. Use a rubber spatula to scrape the mochi dough from the bowl and onto the parchment paper (keep in mind that it will be very hot, so be careful not to touch it. Place the dirty dishes in the sink and soak them in water.
- Dust the top of the dough ball with cornstarch. Use a rolling pin to roll the mochi dough into a large rectangle. If the dough sticks at all while rolling, continue to dust the top with cornstarch to prevent sticking. Roll the dough to a thickness of 1/4”. Place the parchment paper with the rolled out dough onto a sheet pan and refrigerate for 30 minutes.
- Use scissors to cut large squares of plastic wrap (one for each ice cream ball). Each mochi will get wrapped in plastic wrap before freezing.
- Remove the dough from the fridge and use a round cookie or biscuit cutter (about 3 inch round) to cut circles in the dough. Your circles need to be big enough to pinch the dough around the ice cream. Pick up one circle of dough and gently brush off the cornstarch from the top (I like to use a dry pastry brush to do this). Working with one scoop of ice cream at a time, keeping the rest in the freezer so they don’t melt, place one ice cream scoop in the center of the mochi and gently press the dough around the ice cream. Pinch the edges of the mochi to seal it.
- Place mochi on a piece of plastic wrap bringing the corners of the square to the center and twisting tightly at the top to seal it.
- Place mochi back in the freezer with the twisted plastic wrap side down. Continue with remaining dough and ice cream. Freeze mochi ice cream for at least 1 hour before eating. Once frozen, store it, still wrapped in the plastic wrap, in a freezer safe bag or container in the freezer for up to 3 months. Allow the dough to slightly thaw before eating.