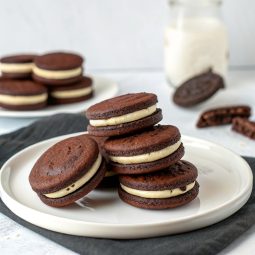
Indulge in the magic of homemade Oreo cookies that rival the classic store-bought favorites. These irresistible treats feature rich chocolate wafers sandwiching a creamy vanilla filling, delivering pure bliss in every bite. Ready in under an hour, this recipe yields perfectly crisp cookies that bring back cherished childhood memories. With simple ingredients and clear steps, you’ll master the art of crafting America’s beloved sandwich cookie right in your kitchen.
Key Ingredients
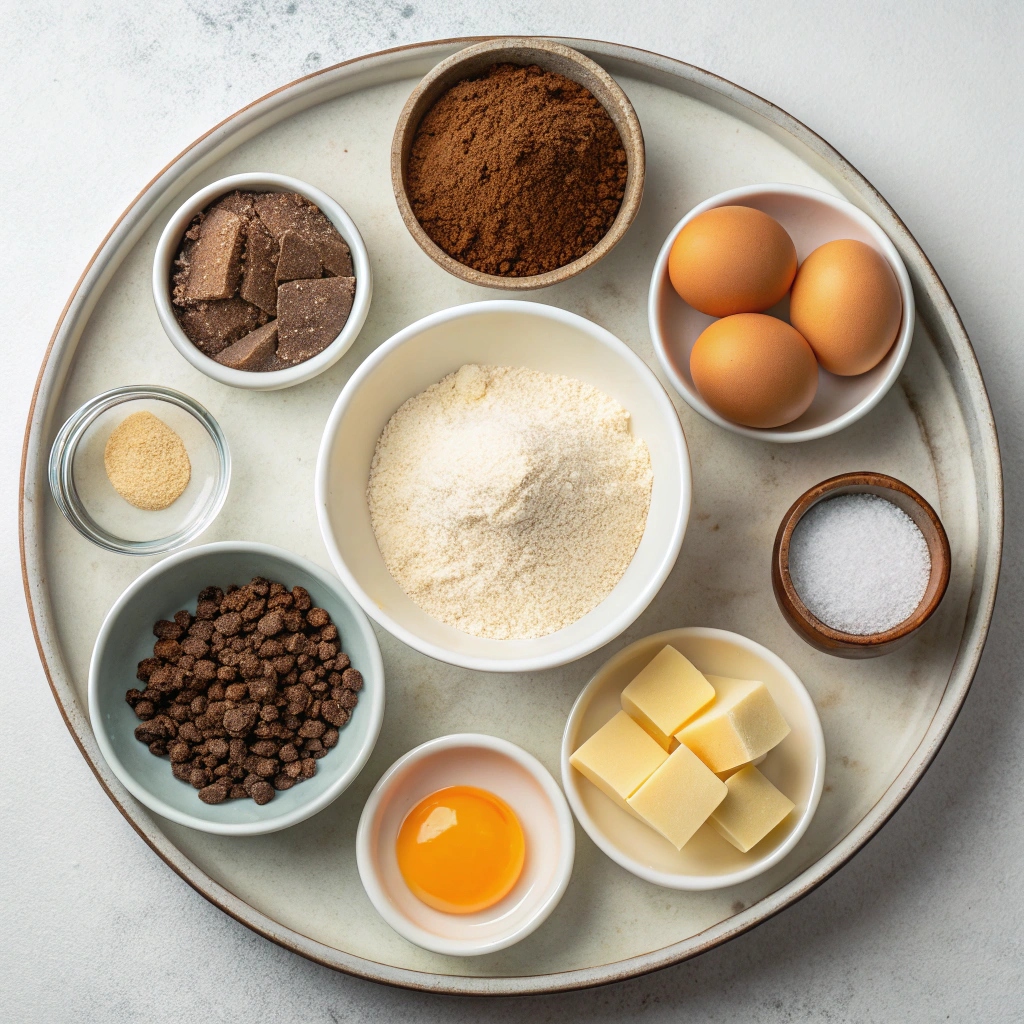
- All-purpose flour (1 1/4 cups): Base ingredient that gives structure to the cookies
- Cocoa powder (1/2 cup): Gives rich chocolate flavor and dark color
- Butter (1/2 cup): Room temperature for perfect cookie texture
- Sugars: Combination of granulated (3/4 cup) and brown sugar (1/4 cup) for ideal sweetness
- Egg & Vanilla: Binds ingredients and adds flavor depth
Filling Components
- Butter & Shortening (1/4 cup each): Creates perfect creamy filling
- Powdered Sugar (1 3/4 cups): Gives smooth, sweet texture
- Vanilla Extract: Enhances overall flavor profile
Step-by-Step Instructions
- Prep Dry Mix: Combine flour, cocoa powder, baking soda, and salt in a bowl
- Create Base: Beat butter until creamy, then mix in both sugars until well combined
- Wet Ingredients: Add egg and vanilla, mix thoroughly
- Combine & Chill: Mix in dry ingredients and refrigerate for 30 minutes
- Shape & Bake: Form 2-teaspoon sized balls, flatten slightly, bake at 350°F for 6-8 minutes
- Filling Preparation: Beat butter and shortening, add powdered sugar and vanilla until smooth
- Assembly: Once cookies cool, sandwich filling between two cookies
Recipe Tips & Techniques
Getting these cookies just right is all about timing! The 30-minute chill time helps prevent the cookies from spreading too much while baking. When you’re rolling the dough balls, keep them small (about 2 teaspoons each) – this will give you that perfect Oreo size. Watch them closely in the oven – they might look a bit soft at 6-8 minutes, but that’s exactly what you want! They’ll firm up as they cool, giving you that classic crispy-yet-tender texture.
Mix-and-Match Options
Want to put your own spin on these homemade Oreos? Switch up the filling with cream cheese instead of shortening for a tangier taste. You can also add a few drops of food coloring to the filling for festive holiday cookies, or mix in some peppermint extract for a minty twist. For extra-special occasions, try rolling the edges in colorful sprinkles or crushed candy pieces after filling!
Serving Ideas
These cookies are amazing on their own, but try serving them with a cold glass of milk for that classic dunking experience! They’re perfect for birthday parties, holiday cookie platters, or afternoon snacks. Want to get fancy? Crumble them over ice cream or use them as a crust for a no-bake cheesecake.
Storage Know-How
Your homemade Oreos will stay fresh in the fridge for up to a week when stored in an airtight container. If you want to plan ahead, the filled cookies freeze beautifully for up to 2 months – just pop them in a freezer bag! You can even make the filling a week ahead and keep it in the fridge. Just remember to let it warm up to room temperature before spreading it on your cookies.
Homemade Oreo Cookies
Equipment
- Baking sheets
- Parchment paper
- Mixing bowl
- Wire cooling rack
Ingredients
For the cookies:
- 1 1/4 cups all-purpose flour
- 1/2 cup unsweetened cocoa powder
- 1 teaspoon baking soda
- 1/8 teaspoon salt
- 1/2 cup butter room temperature
- 3/4 cup granulated sugar
- 1/4 cup light brown sugar packed
- 1 large egg
- 1 teaspoon vanilla extract
For the filling:
- 1/4 cup butter
- 1/4 cup vegetable shortening or 4 oz of cream cheese if you’d like a cream cheese frosting for the filling, instead
- 1 3/4 cups powdered sugar
- 1 teaspoon vanilla extract
Instructions
- Add the flour, cocoa powder, baking soda, and salt to a large bowl. Set aside.
- Add the butter to a mixing bowl and beat on high speed until creamy. Add granulated sugar and brown sugar and mix until well combined. Mix in egg and vanilla extract.
- Add the dry ingredients and mix on low speed until combined. Cover the dough and chill for 30 minutes.
- Preheat oven to 350 degrees F.
- Remove the cookie dough from the refrigerator. Line two large baking sheets with parchment paper.
- Roll the dough into small, 2 teaspoon sized balls. You should be able to roll about 30 cookie dough balls. I can fit 15 on each of my cookie sheets. Press down lightly on the top of the balls to slightly flatten. Bake for 6-8 minutes. The will appear soft but will continue to harden as they cool. Cool for 5 minutes on the baking sheet, and then remove to a wire cooling wrack to cool completely.
- Beat together butter and shortening until smooth. Add powdered sugar and vanilla and mix for 1-2 minutes, until smooth.
- Once the cookies have cooled, add a small spoonful of filling onto the inside of a cookie. Place the inside of another cookie on top and press together.
- Cookies store well, covered in the fridge, for up to 1 week. They also freeze well, up to 2 months. Filling can be made up to 1 week ahead of time, stored in the fridge. Allow to come to room temperature before filling cookies.