These melt-in-your-mouth homemade caramels bring the magic of an artisanal candy shop right to your kitchen. With just over an hour of your time, you’ll create buttery, smooth candies that perfect the balance between rich indulgence and sweet satisfaction.
At only 94 calories per piece, these golden treats make thoughtful gifts or delightful after-dinner sweets that’ll have everyone asking for your secret recipe.
Ingredients for Homemade Caramels
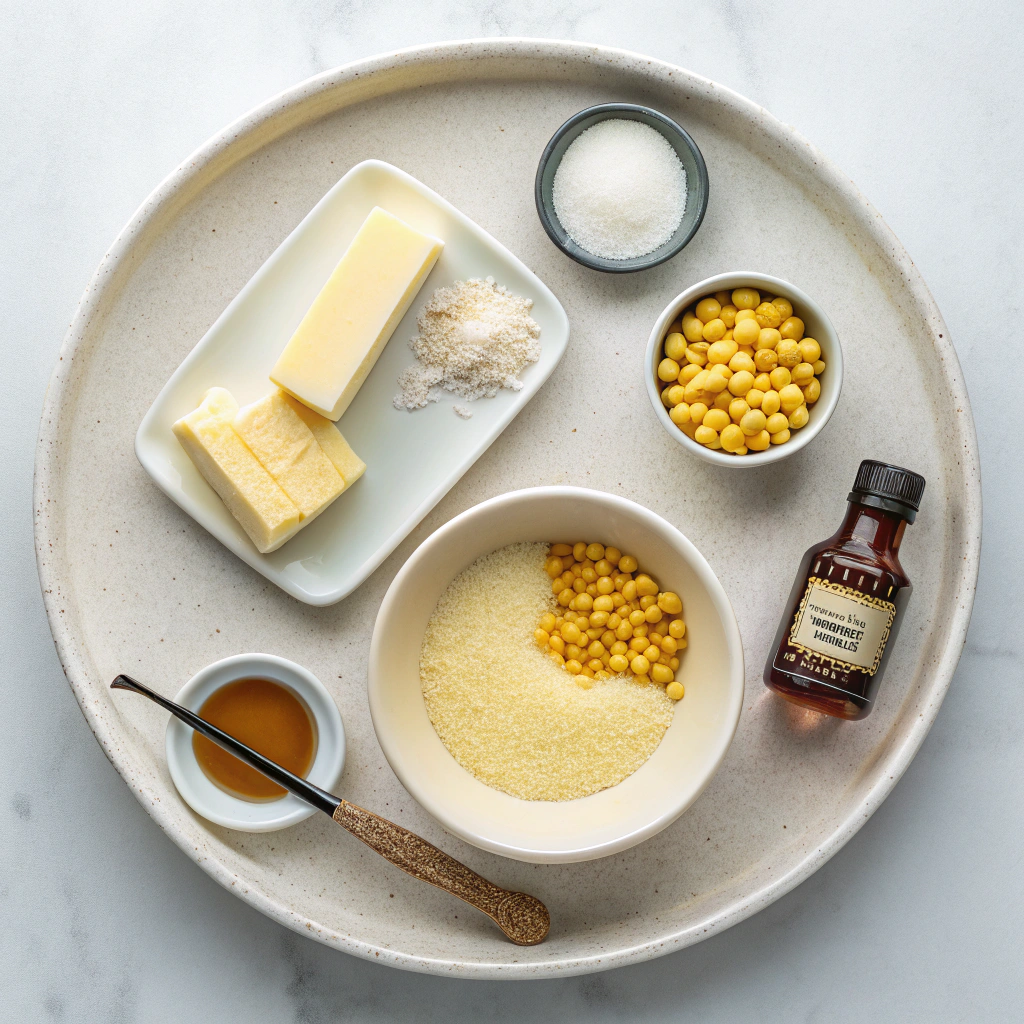
- Butter: 1 cup (2 sticks), room temperature for better blending
- Granulated Sugar: 4 cups, ensures perfect sweetness and crystallization
- Light Corn Syrup: 2 cups, helps prevent sugar crystallization
- Evaporated Milk: 24 ounces (2 cans), creates creamy texture
- Vanilla Extract: 1 teaspoon, adds wonderful aroma and flavor
Instructions for Perfect Caramels
- Preparation: Line a 9×13″ pan with parchment paper for easy removal. A buttered pan works too!
- Initial Cooking: Combine butter, sugar, and corn syrup in a heavy-bottom saucepan over medium heat until boiling (5-10 minutes).
- Milk Addition: Gradually add evaporated milk, one can at a time, spending 12-15 minutes per can while stirring constantly.
- Temperature Control: Keep stirring until mixture reaches firm ball stage (240-245°F). Test by dropping a small amount in ice water – it should form a firm but slightly sticky ball.
- Finishing Touch: Remove from heat, stir in vanilla extract until well combined.
- Setting: Pour into prepared pan and refrigerate overnight or several hours until firm.
- Cutting & Wrapping: Cut into bite-sized pieces and wrap in wax paper for a professional touch.
Cooking Techniques
Making caramels is all about patience and steady heat! The magic happens when you keep stirring and watching the temperature.
Not sure about using a candy thermometer? Try the ice water test – it’s an old-school method that many candy makers love. Drop a bit of your caramel into cold water, and if you can form it into a firm but slightly sticky ball, you’re right on track!
Storage Tips
Your homemade caramels will stay fresh and tasty for up to 2 weeks when stored properly. After cutting them into pieces, wrap each one in wax paper (just like the classic candies from your childhood!).
Keep them in an airtight container at room temperature. For longer storage, pop them in the fridge – just remember to let them warm up a bit before eating for that perfect chewy texture.
Variations
Ready to play with flavors? Try adding 1/2 teaspoon of sea salt at the end for salted caramels, or stir in 1/4 cup of bourbon with the vanilla for grown-up treats. Love chocolate? Once they’re set, dip your caramels in melted dark or milk chocolate. For a nutty twist, sprinkle chopped pecans or almonds over the warm caramel right after pouring it into the pan.
Serving Suggestions
These sweet treats make wonderful gifts! Package them in pretty boxes lined with wax paper, or fill decorative jars for holiday presents. They’re perfect for candy dishes at parties or wedding favors. Want to get fancy? Chop them up and sprinkle over ice cream sundaes, or use them to top brownies and cookies while still warm from the oven.
Homemade Caramels
Equipment
- 9×13 inch pan or jelly roll pan
- Heavy-bottom saucepan
- Candy thermometer
- Parchment paper
Ingredients
- 1 cup butter (2 sticks)
- 4 cups granulated sugar
- 2 cups light corn syrup
- 24 ounces evaporated milk (2 cans)
- 1 teaspoon vanilla extract
Instructions
- Line a 9×13″ pan or jelly roll pan with parchment paper. (If you don’t have parchment paper you can generously butter the pan.) Either size pan will work–9×13″ will yield thicker caramels.
- Add 2 sticks butter, sugar, and karo syrup to a large heavy-bottom saucepan over medium heat. Stir over medium heat until mixture begins to boil, about 5-10 minutes.
- Gradually add the evaporated milk, one can at a time, taking about 12-15 minutes PER CAN to slowly add it, while stirring constantly. You want to make sure the mixture maintains a steady heat and constant boil (no drastic changes in temperature) otherwise your caramels can curdle.
- Stir the mixture constantly, scraping the sides occasionally until it reaches a firm ball stage (about 240-245 degrees F on a candy thermometer). Drop a spoonful of hot caramel sauce into a cup of ice water and mold it with your fingers into a ball. When ready it will feel pretty firm and pliable, but still slightly sticky.
- Once you reach 240-245 degrees F / or the firm ball stage, remove from heat. Stir in vanilla.
- Pour caramels into prepared pan. Refrigerate until cooled and hardened. (Best if you refrigerate them overnight, or for several hours. They will be easier to cut and wrap).
- Cut caramel into small pieces and, if desired, wrap like a tootsie roll in wax paper.